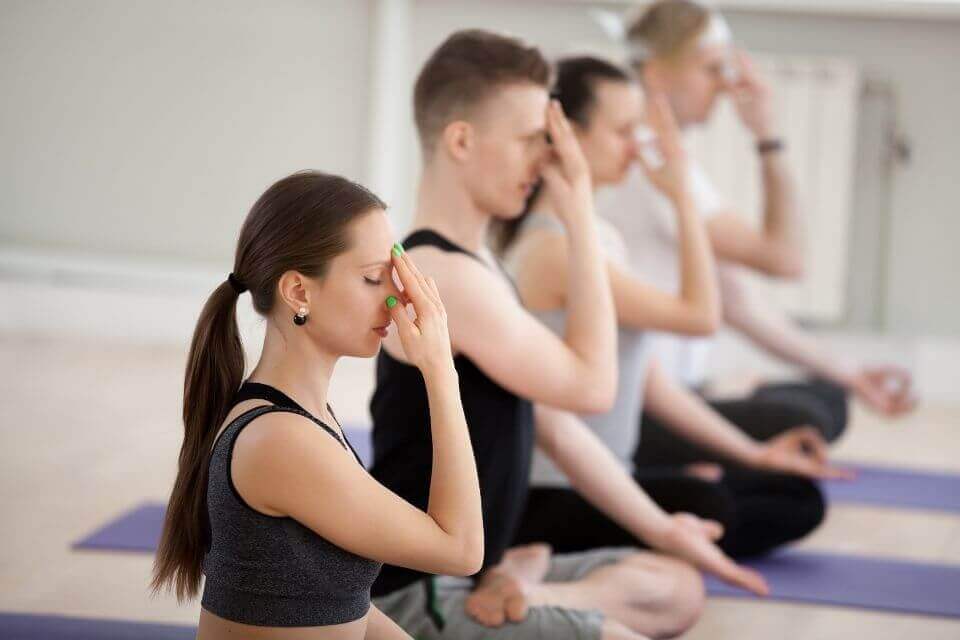
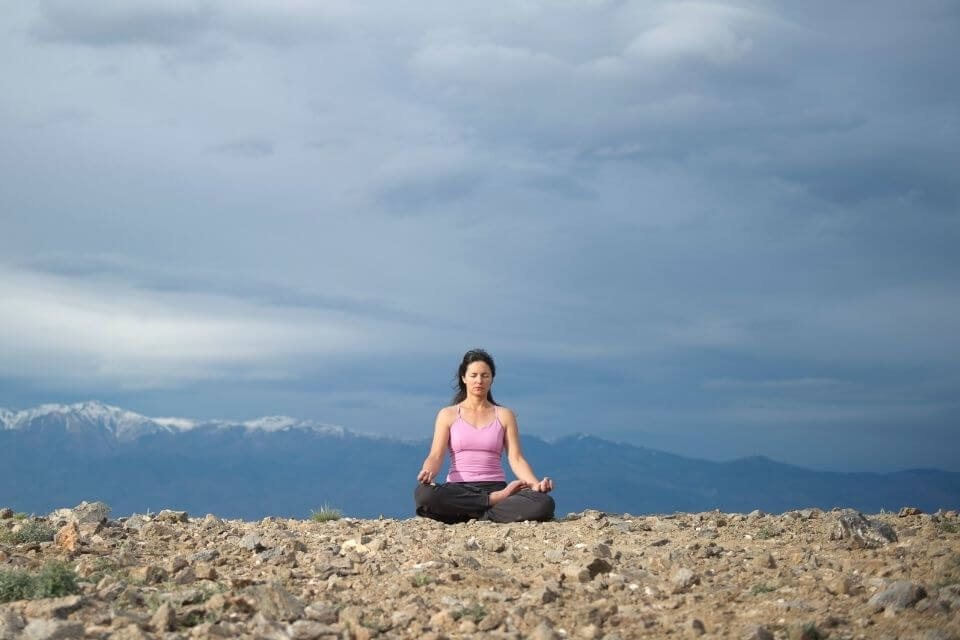
The practice of controlled breathing to get access to one’s life force is called Pranayama. The Sanskrit words Prana and Ayama mean “vital energy” and “to control,” respectively. It means to extend and control the life force in the body. The practice of Pranayama has been a practice since 1500 BCE where it was first mentioned in one of the oldest sacred books of Yogic traditions. This is part of the eight limbs of Ashtanga Vinyasa yoga.

Pranayama is an essential part of yogic traditions as it unblocks the body by allowing the energy to flow through the pulse channels called Nadi. The breathing techniques involved in Pranayama can be Abdominal, Clavicular, and Thoracic breathing. These techniques are determined by the muscles that are being directly affected by the breathing technique. Abdominal breathing focuses on the muscles in the abdomen; Clavicular breathing involves the lungs and the upper part of the body; Thoracic breathing involves the thoracic cage and abdominal muscles, although it focuses more on the middle part of the body.
The Pranayama has three components that are involved in all breathing exercises. The inhalation or Puraka, exhalation or Rechaka, and holding of breath or Kumbhaka. Kumbhaka can either be an Antara Kumbhaka holding of breath before exhaling or a Bahya Kumbhaka holding of breath before inhaling.
There is a lot of recorded Pranayama in Yogic traditions. Some are categorized by the effects that they cause in the body. Cooling Pranayamas have a cooling effect that brings down the body’s inner fire or Pitta Dosha. Santa Pranayama is one of the best breathing practices that have a cooling effect on the body. It is the Pranayama that allows air to be inhaled through the sides of the teeth.

Precautions Before Doing Sadanta Pranayama
Practicing Pranayama should always be under the guidance of a guru or a practice teacher. It is also not suitable for people who have respiratory problems like asthma. People who are suffering from cold should avoid this unless fully healed. Practice the Pranayama at a quiet and clean place.
How to Do the Sadanta Pranayama
- Sit straight in the preferred asana. Make sure that you are comfortable in this position.
- Relax the body and open the mouth while the lower and upper teeth are meeting.
- Press the tongue against the back of your teeth.
- Inhale through the mouth steadily and calmly. Let the air pass through the crevices of the teeth. This should make a hissing sound.
- Give a quick moment to Antara kumbhaka and exhale the air through the nostrils. This should expel the warm air out of the body through the trachea.
- This is one round of Santa. Repeat for at least nine rounds.
Benefits of Sadanta Pranayama
As cooling Pranayama, the practice Sadanta pranayama helps release excess heat in the body and cools the mind. This Pranayama is a good practice, especially during the summer when the temperature is high or fever.
It is suitable for the digestive system as it stimulates the parasympathetic nervous system, decreasing the chances of indigestion, helps with hypertension, and prevents acid reflux. It also helps in disorders of the organs in the digestive system.
The release of the excess heat in the body also has a calming effect that stabilizes the blood pressure. The calming effect is suitable for people who have anxiety and depression as it removes mental tension.
5 Recommended Asana for Sadanta Pranayama
1. Siddhasana (Accomplished Pose)
One of the ideal poses for meditation. This is a position that is good to be maintained for an extended period. The energy flows move towards the upper part of the body and relax the body’s nervous system.
Sit in a relaxed position on the floor with legs placed together. Put the left foot at the perineum and the right foot over. The knees should be touching the floor throughout. Make sure that the spine is kept upright and hands in a Chin Mudra position.
2. Ardha Padmasana (Half Lotus Pose)
This asana is a basic position and is good to prevent restraining the knees. It stretches the lower part of the body and allows flexibility on the legs, pelvis, and ankles. It is also suitable for maintaining one’s posture.
To do the Ardha Padmasana, start by sitting comfortably and placing the right foot on the left calf. Make sure that the top of the right foot is placed on the crease on the opposite hip. Keep knee in a bent position, and the pose should resemble the legs crossed together.
3. Padmasana (Lotus Pose)
The best asana poses to use in meditation. This also allows the yogi to sit for an extended period while continuously circulating the blood throughout the lower part of the body. The lower part of the body, including the spine, is stretched and strengthened simultaneously.
Sit on the floor with legs placed together. Cross the legs by interweaving and place each foot on the thighs opposite each other. Use Jnana Mudra for the hands.
4. Sukhasana (Comfortable Pose)
The Sukhasana pose is good for stretching the knees and opening the ankles. It helps in strengthening the back muscles and lower part of the body. Keeping the spine upright helps maintain good posture and prepares for more challenging Asana poses.
Sit comfortably on the floor with both legs close together in front of you. Bend the knees and interweave the legs. Make sure that the shin is placed on the opposite shin. Move the knees together so that the feet are directly placed under.
5. Vajrasana (Thunderbolt Pose)
An asana that is different from the first four mentioned is done while sitting on the legs instead of crossing the legs. It helps stretch and strengthen the lower part of the body, including the hips and pelvic muscles.
Start in a kneeling position, keep the legs close together and the toes crossed. Lower the body and sit on the legs with buttocks pressed against the heels. Use the Jnana Mudra position for the hands.
